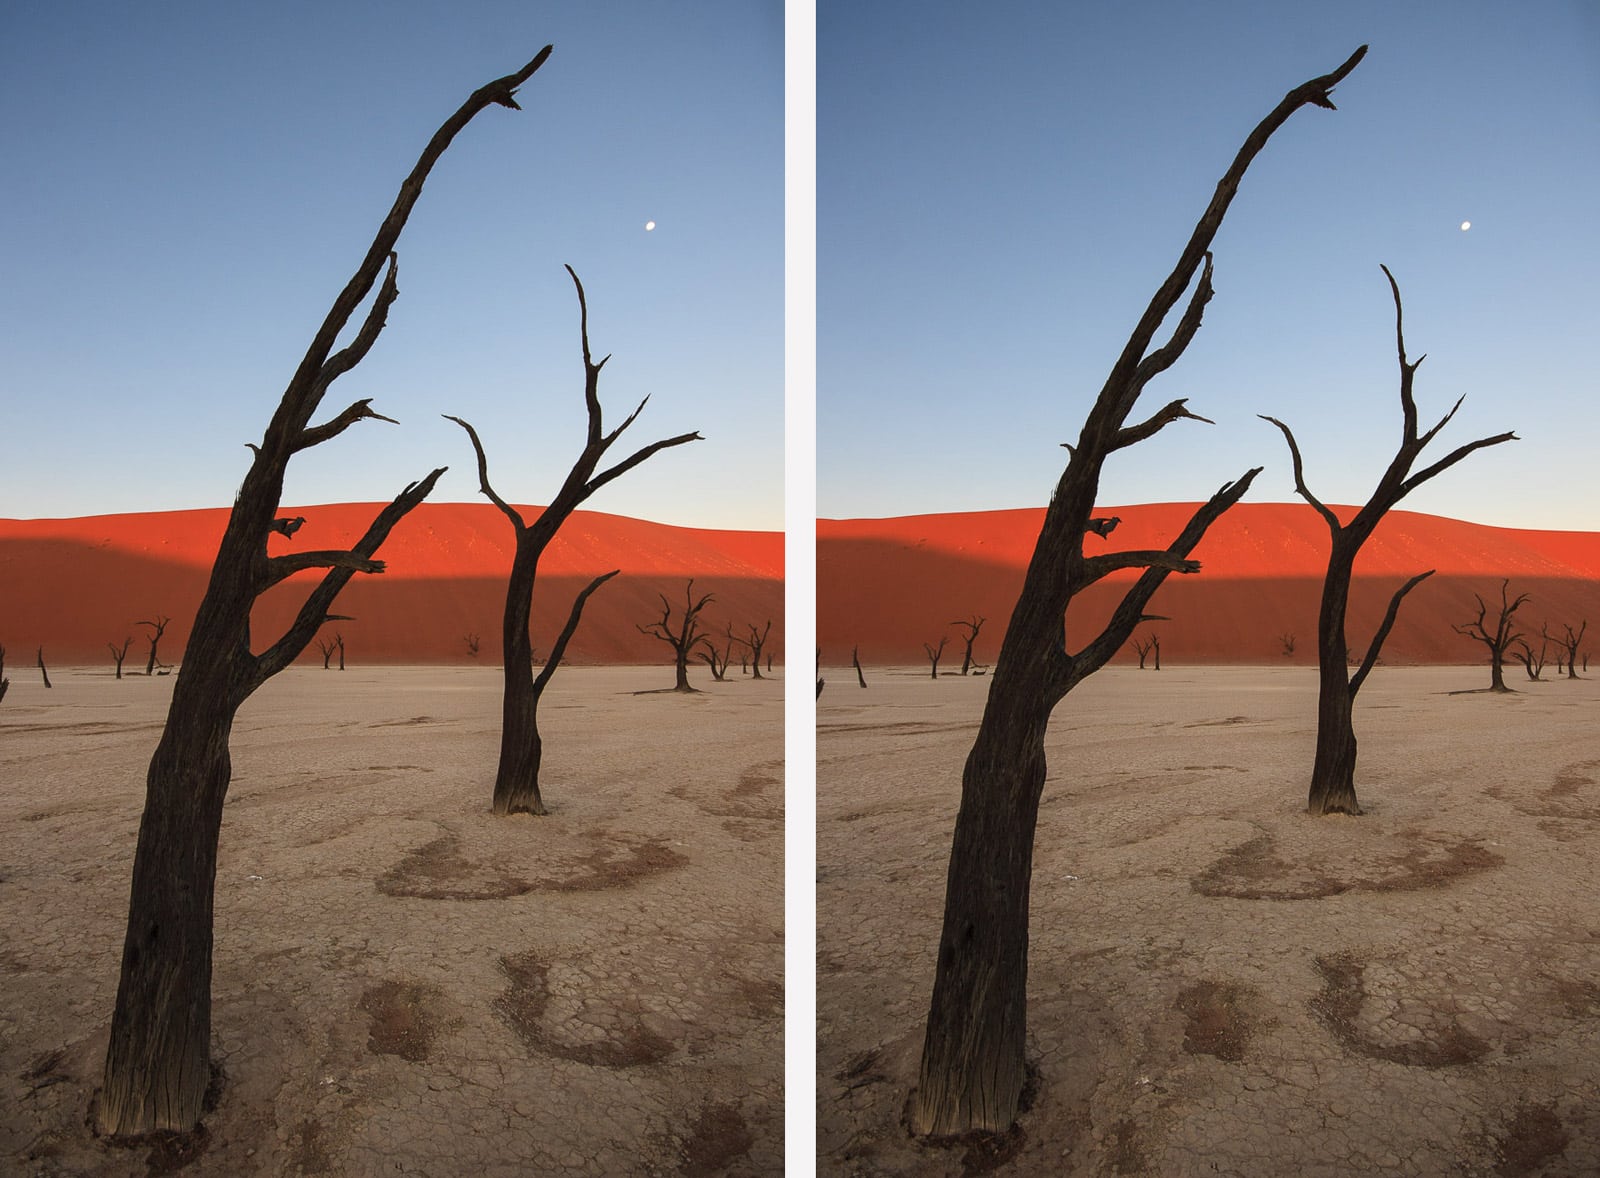
Sometimes we upload a photo to a website or social media, and we’re surprised to see that the colors look very different depending on the device or, more precisely, the browser we’re using at the moment. Usually, there’s a loss of saturation and a shift in color and contrast. In these cases, the number one suspect is always the color space (or color profile).
Quick answer: sRGB
Work in RAW, AdobeRGB, or another similar space, and when saving the photo as a JPG for the web, choose sRGB. If you’re using Adobe software, follow these steps:
- Photoshop: File / Export / Save for Web, check Convert to sRGB.
- Lightroom: Export option, in the color space box, select sRGB.
Or the equivalent option in your regular software. Let’s take a closer look at the topic.
What is the color space of an image?
Without getting into complicated concepts, the color space is how the colors are encoded within a digital image file. Depending on the color space, the image can contain a certain number of colors. Some spaces allow for more colors than others.
Why do colors look different in different browsers?
Any software that works with images, including a browser, must interpret how the colors are stored within an image file to display it on the screen. Some browsers don’t perform color management, meaning they don’t take the image’s color space into account when displaying it, and they use sRGB by default.

The result of displaying an image encoded as Adobe RGB (or another color space) as sRGB is a significant color shift—definitely worse, as seen in the previous example.
What’s the difference between sRGB and Adobe RGB / ProPhoto RGB?
Adobe RGB’s color gamut is wider, so it’s generally recommended to work with images in Adobe RGB or other even larger spaces like ProPhoto RGB, which contain the maximum amount of colors and nuances possible.
However, sRGB is a more universal format, and as such, an image in sRGB will appear with nearly the same colors across all browsers, making sRGB the ideal space for the web.
Recommended workflow: Shoot in RAW, edit, and choose the color space at the end
In digital photography, it’s best to always shoot in RAW, the format that comes directly from the camera’s sensor. Its color space is the largest possible for an image captured with that camera because it hasn’t been converted or altered yet. Almost all professional and advanced amateur photographers shoot in RAW.
The advantage of RAW is that we can do digital processing in software like Lightroom on the file and choose the color space when exporting the image and converting it to JPG or another format depending on how the image will be used.
This article was first published in 2011 and was reviewed and updated in January 2022 and December 2024.


