In other articles on our blog, we’ve discussed AI applied to text and how we’ve integrated this tool into the Bluekea control panel to help you write and edit your content.
Today, we’re also talking about artificial intelligence, but applied to images, as the 2024 version of Photoshop includes some very interesting image generation and processing tools for any photographer. By the way, if you need an elegant, professional photography website, be sure to check out Bluekea.
If this is your first time working with AI applied to images, don’t worry. It’s much easier than it seems.
Contents
1. What you need to start working with AI in Photoshop
Obviously, you need a version of Adobe Photoshop that includes the generative AI tools. It’s also recommended to have at least some experience with Photoshop, and, as we’ll see, it’s necessary to know how to manage layers and make basic selections.
Which version of Adobe Photoshop includes AI tools
If you use Photoshop in the cloud as part of the Adobe CC package, these tools are already included and enabled by default. If you’re working with the desktop version of Photoshop, make sure you have the latest version installed, or at least version 25 or 2024.
The contextual task bar
Before doing anything, it’s necessary to open an image. We recommend images with prominent subjects, similar to those shown in the examples of this article, avoiding overly flat or uniform photos.
Once your photo is open, the tools we’ll cover are located in the contextual task bar. If you don’t see it, click on the Window menu and select Contextual Task Bar.

2. How to select AI tools in Photoshop
With Photoshop’s integrated AI, it’s not necessary to select an action directly, like deleting an element or changing a sky. Instead, the available AI actions, which appear in the contextual task bar, depend on the Photoshop tool you have activated beforehand.
For example, to remove an object, you first select it using any of the usual tools, like the lasso tool. If you want a larger photo by generating content around it, you would select the crop tool. Don’t worry, we’ll go over detailed examples of all this shortly.
3. Remove an element from a photograph
Often, we need to remove an element from an image, either because it disrupts the composition or because it’s not relevant.
Select the element
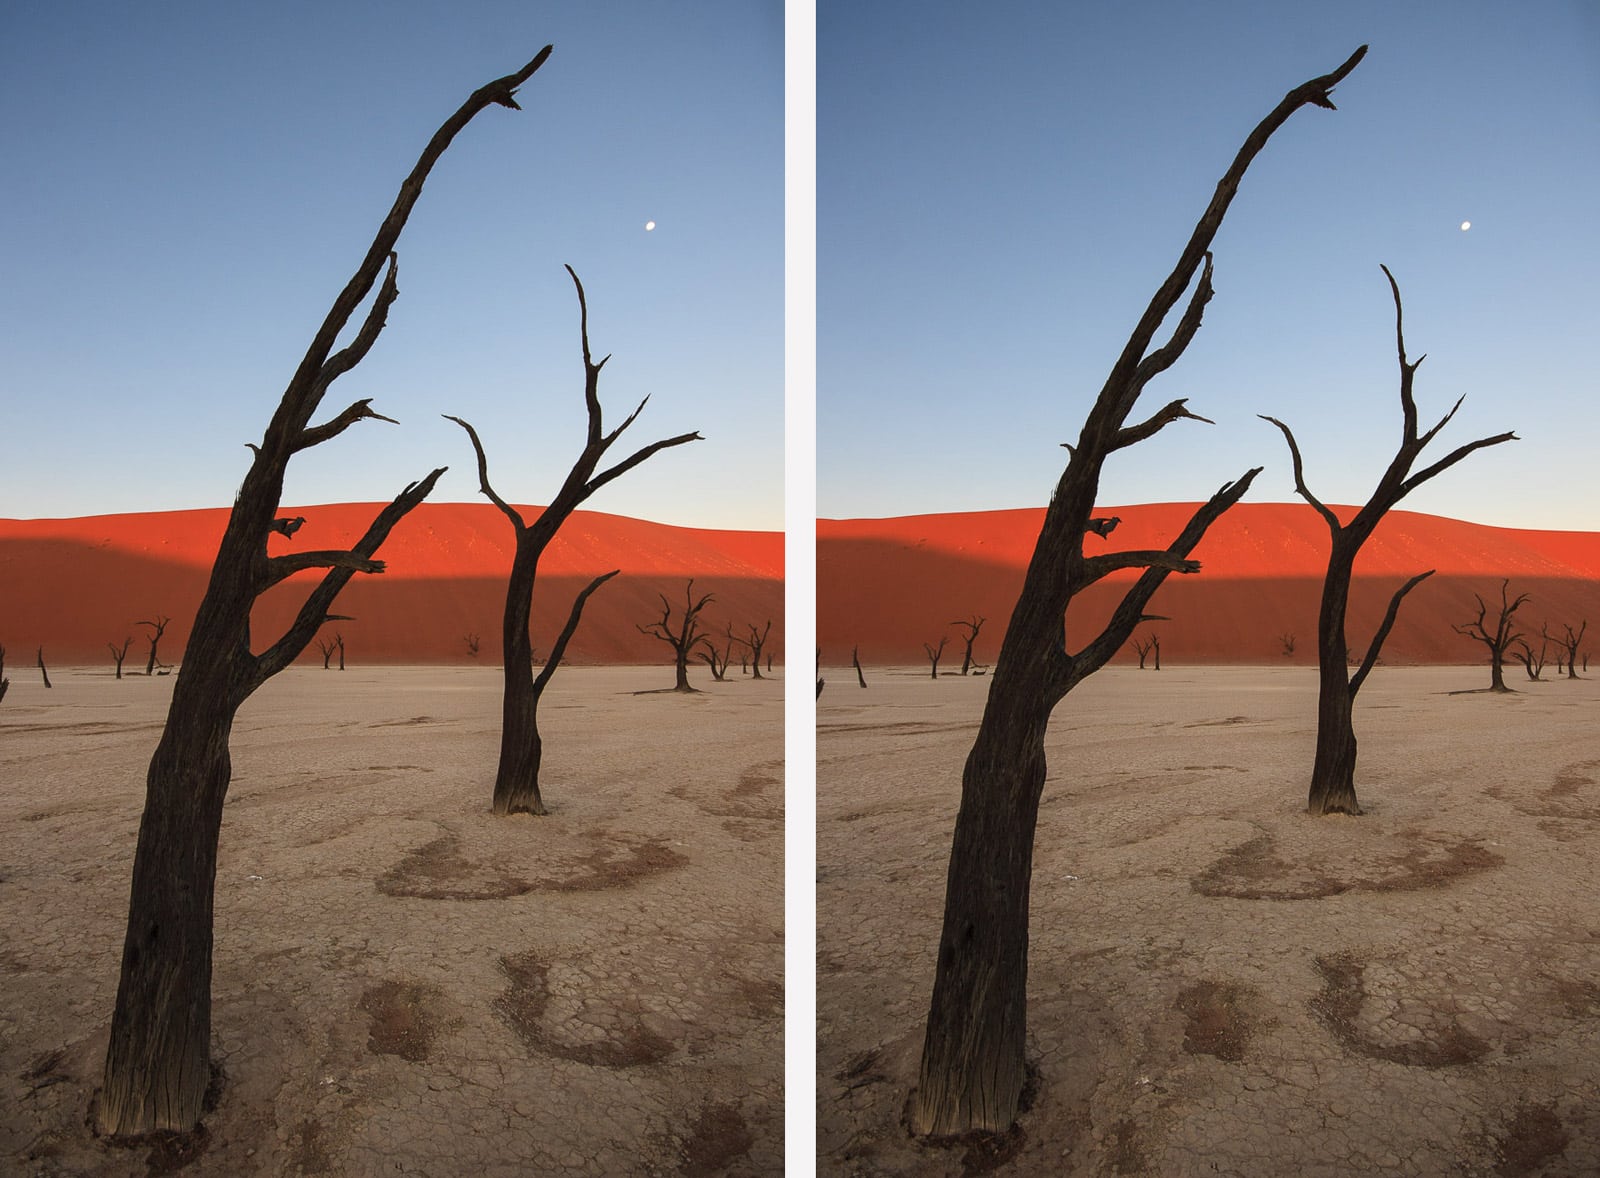
The first step is to select the outline of the element to be removed, using any selection tool in Photoshop. In our example, we used the lasso tool, and as you can see, we didn’t fine-tune it much. After all, AI was designed to make our work easier.

Use generative fill without instructions
Next, in the contextual task bar, we click on Generative Fill. This tells Photoshop that the selected area within the image will be completely regenerated, taking into account the rest of the image but without affecting it. In this example, since we want to remove an element, we won’t write anything in the text box that appears. We click Generate, and after a few seconds, we see the result. In our example, it’s excellent.


How the changes are applied to the image
It’s important to note that each change we make to our photos using Photoshop’s AI is not applied to the original background layer, but instead creates a new layer. These layers work like any other: they can be modified, hidden, and shown as we wish. This is very useful for experimenting with different effects without altering the original image.

4. Change the background (or any other area) of a photograph
The process for changing the background, the sky, or any other part of the image works in a very similar way.
Select the element
First, we select the area to modify using any selection tool, such as the marquee or lasso tool. Remember, it’s not necessary to be overly precise, at least on the first try.

Use generative fill with instructions
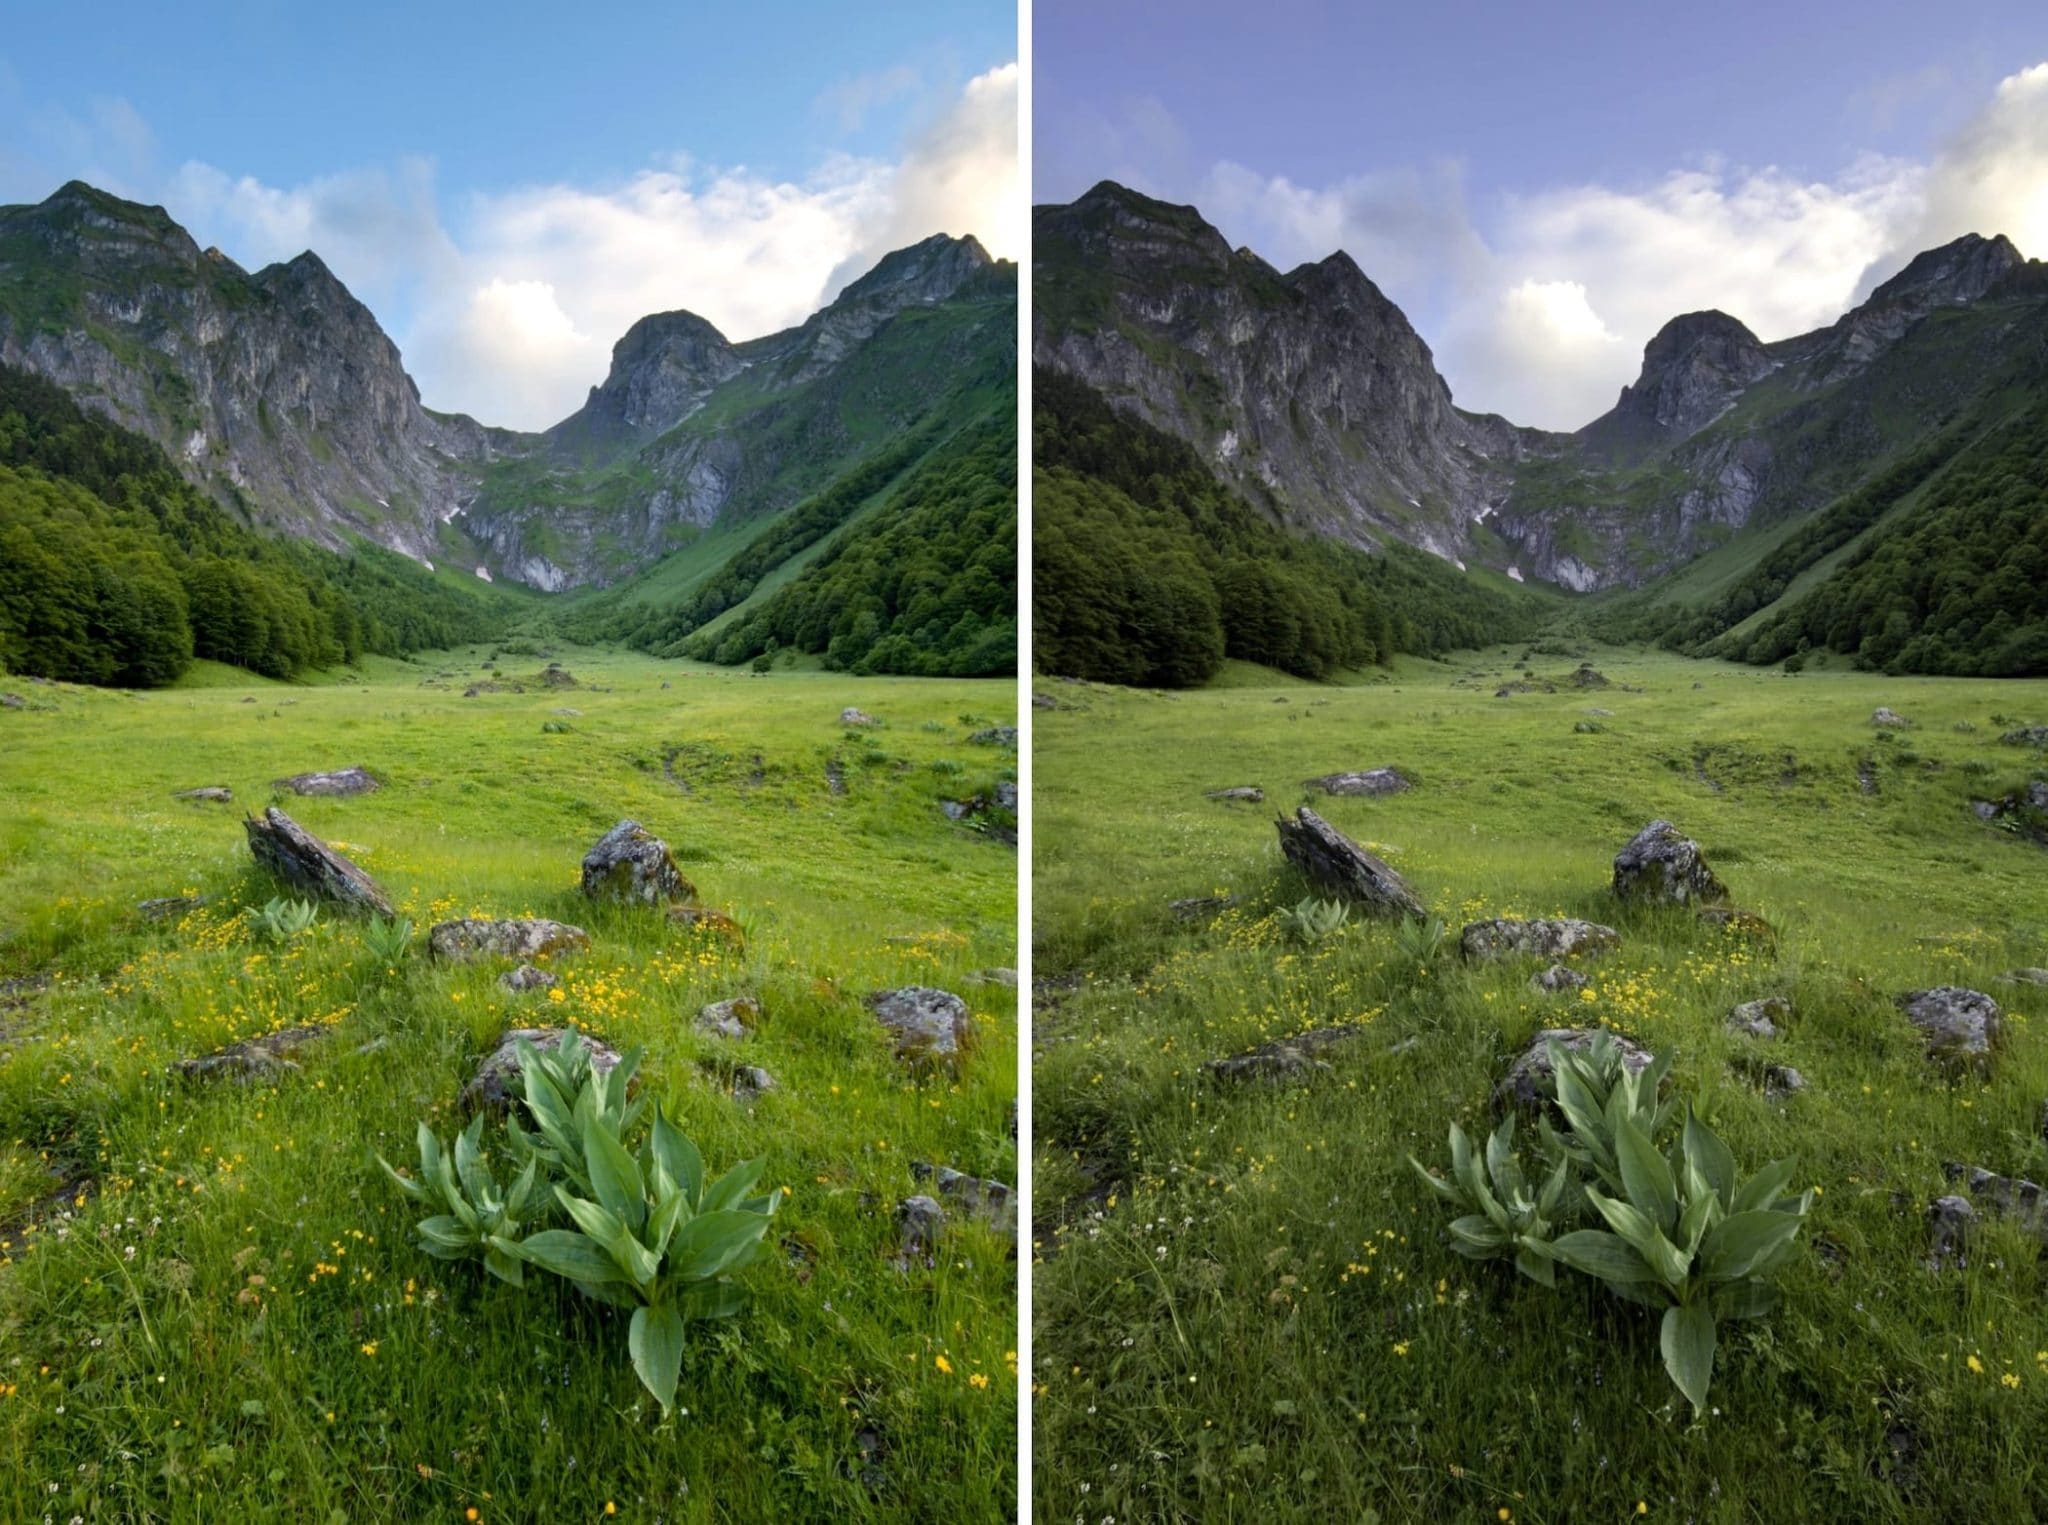
Next, in the contextual task bar, we click on Generative Fill and enter a description of what we want to generate. In our case, starting with an image that has a blue sky, let’s say we want to achieve a stormy sky. So, we enter “stormy sky.”


Work with the result
In this case, the initial result — the image on the left — is a sky that’s too dramatic. Fixing this is very easy since the sky is a new layer in our Photoshop image. Therefore, it’s enough to slightly increase the brightness of that layer, as shown in the image on the right.
5. Extend an image with new content
One of the most striking AI options is image extension. It’s equivalent to zooming out with the lens when framing a scene. The difference is that what appears at the edges of the image isn’t an enlargement of the scene in front of us, but something generated by AI. Both interesting and unsettling at the same time.
To try this, we select the traditional crop tool in Photoshop. Now, instead of cropping, we’ll extend the crop rectangle to one or more sides. In our example, we want to generate a coastal landscape to the left of the boat.

Once the crop has been expanded, we click on Generative Expand in the contextual task bar. In the text box, we type what we want to generate; in our case, we try “coast with a city.”

As you can see, the result is quite good in the sea and sky, but the tower above the coastal town looks like it’s straight out of Game of Thrones. In this case, it would be very easy to remove it, as we did in the previous example.
In our tests, we also expanded this photo to the right, and the boat that appeared isn’t bad, but the result isn’t as convincing as the one we’re showing you. However, the great advantage of this technology is that if we’re not satisfied with a result, we can try another, and then another, until we find something we like.
Conclusion and final note
In this article, we’ve introduced some essential image generation tools with artificial intelligence. Keep in mind that this is just a starting point, and you can always edit the AI-generated parts of the image like any other layer.
If you are a professional photographer, it’s essential to at least have a basic understanding of and be able to work with AI image generation. In our opinion, Adobe has done a great job integrating these tools into Photoshop, making it very easy for any user to incorporate them into their workflow.
To conclude, all the images in this article generated with AI are marked as such. AI applied to image generation has enormous creative and productivity potential, but it also has the potential for fraudulent uses. At Bluekea, we believe that transparency in the use of AI-generated images is very important.


